Home
Craft Handmade Ceramics That Will Bring Out The Artist Inside Of You
We are a ceramics studio that will teach you the basics of ceramics
Check Our Workshops
eramic
We are a Ceramic Studio That Will Teach You The Basics of Ceramics
Lorem ipsum dolor sit amet, consectetur adipiscing elit, do eiusmod tempor incididunt ut labore et dolore magna aliqua. Ut enim ad minim veniam, quis nostrud exercitation ullamco laboris nisi ut aliquip ex ea commodo consequat. Lorem ipsum dolor sit amet
More About Us
What We Offer
Lorem ipsum dolor sit amet, consectetur adipiscing elit. Ut elit tellus, luctus nec ullamcorper mattis, pulvinar dapibus leo.

Learn The Basics
Lorem ipsum dolor sit amet, consectetur adipiscing elit, sed do eiusmod tempor incididunt ut labore et dolore magna

Master The Basics
Lorem ipsum dolor sit amet, consectetur adipiscing elit, sed do eiusmod tempor incididunt ut labore et dolore magna

Be a Ceramics Superhero
Lorem ipsum dolor sit amet, consectetur adipiscing elit, sed do eiusmod tempor incididunt ut labore et dolore magna
Things You Will Learn
Ceramics Basics
Lorem ipsum dolor sit amet, consectetur adipiscing elit, sed do eiusmod tempor incididunt ut labore
Glaze Techniques
Lorem ipsum dolor sit amet, consectetur adipiscing elit, sed do eiusmod tempor incididunt ut labore
Materials of Ceramics
Lorem ipsum dolor sit amet, consectetur adipiscing elit, sed do eiusmod tempor incididunt ut labore
Crafting Techniques
Lorem ipsum dolor sit amet, consectetur adipiscing elit, sed do eiusmod tempor incididunt ut labore
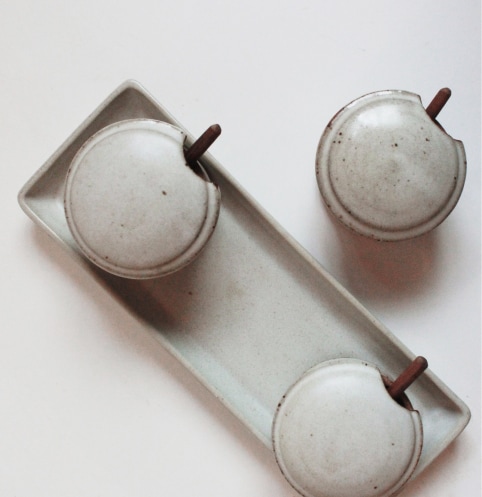
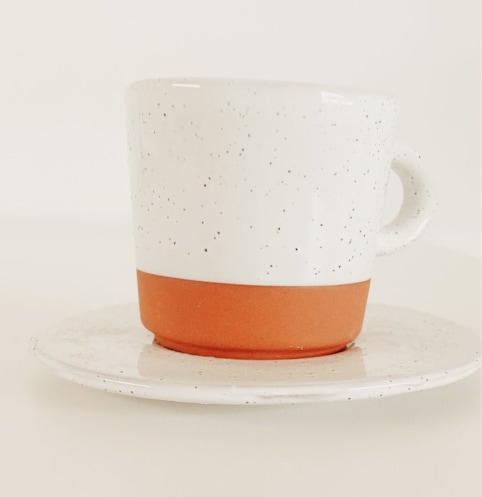
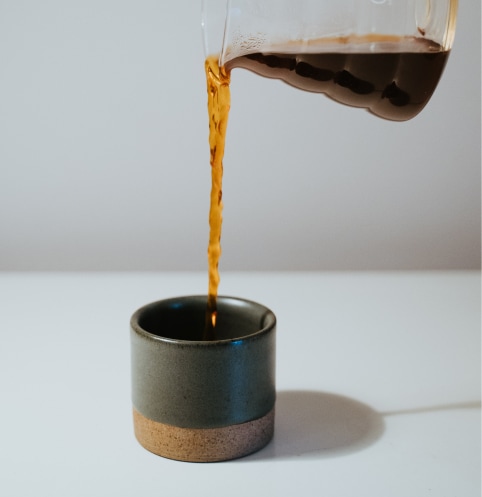
participants’ work
We Think you Can Fit in One of Our Workshops
We Think One of Our Workshops Will Fit Your Needs
Ready to check which workshops are available? You can click the button to see all our available workshops or you can call us for a free consultation!
Check Our Workshops
Workshops